







How thick is the pendant? Will its bail fit the intended chain? Can the lettering be read at the actual product size? Which parts of the surface will be polished, and which will have a different finish?
These questions belong in the approval conversation.
For brands developing custom hip hop jewelry, reviewing CAD is an important step between the original artwork and the first physical sample. Shining Star Jewelry’s design team works with Rhino, Matrix, JewelCAD, and ZBrush to develop both precise jewelry structures and sculptural forms. Buyers can use this stage to discuss the details that determine how their idea will become a wearable product.
Request More Than One View
A single front rendering leaves too much of the product unseen.Ask for front, side, and reverse views, with additional views of connections or moving parts where needed. A perspective image helps explain the overall appearance. Straight-on technical views make it easier to examine measurements and compare individual features.
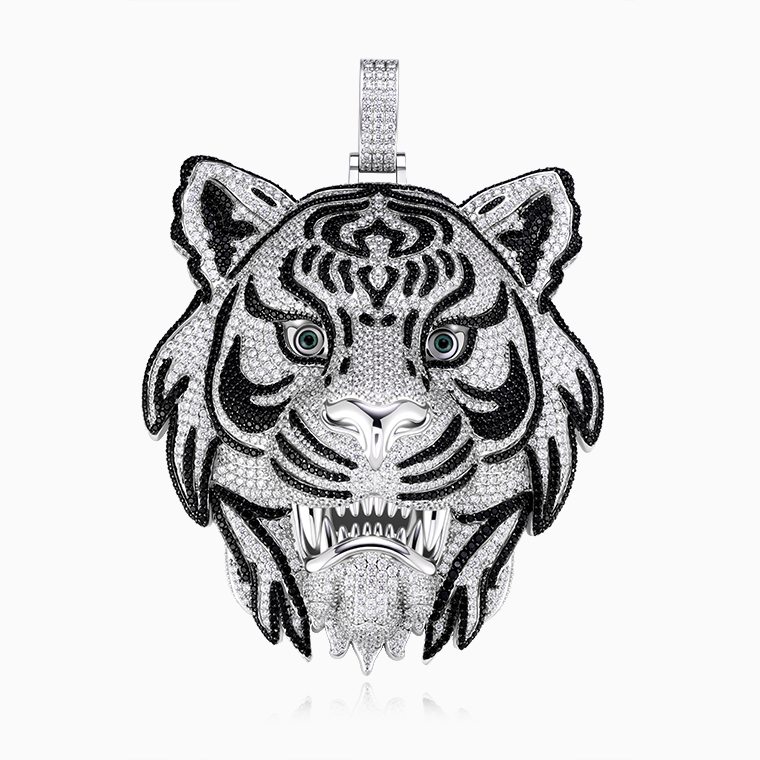
For a pendant, the side view reveals depth and the position of the bail. The reverse shows whether the body is open, recessed, or closed. A close-up of the bail connection can help explain how it joins the pendant.
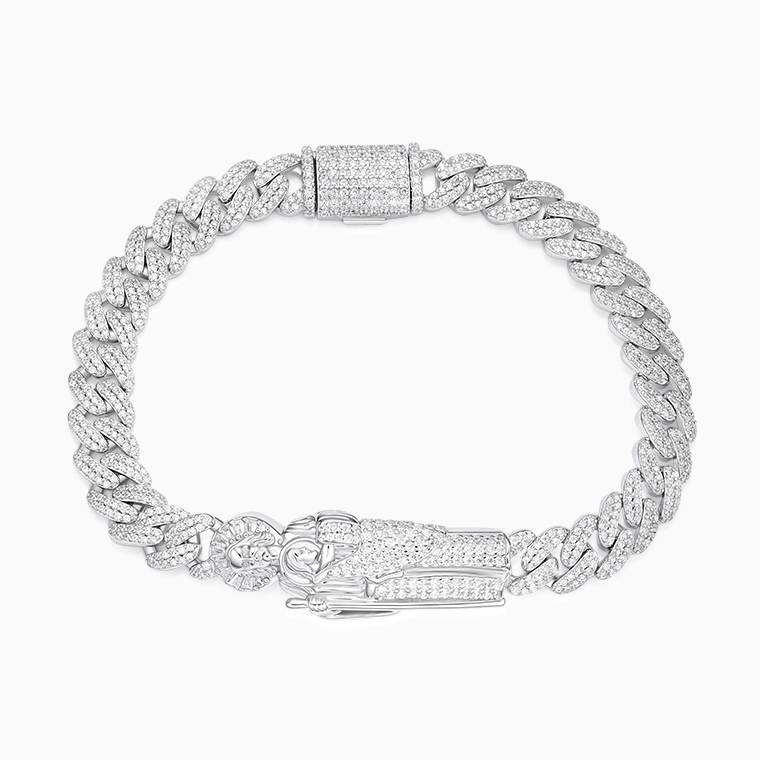
For a ring, look at the shoulders and lower band as well as the decorative face. For earrings, request a view showing the post and back. A chain or bracelet may require details of individual links, their connections, and the clasp.
You should be able to understand the object from the supplied views without having to guess what happens behind its most attractive surface.
Confirm the Actual Dimensions
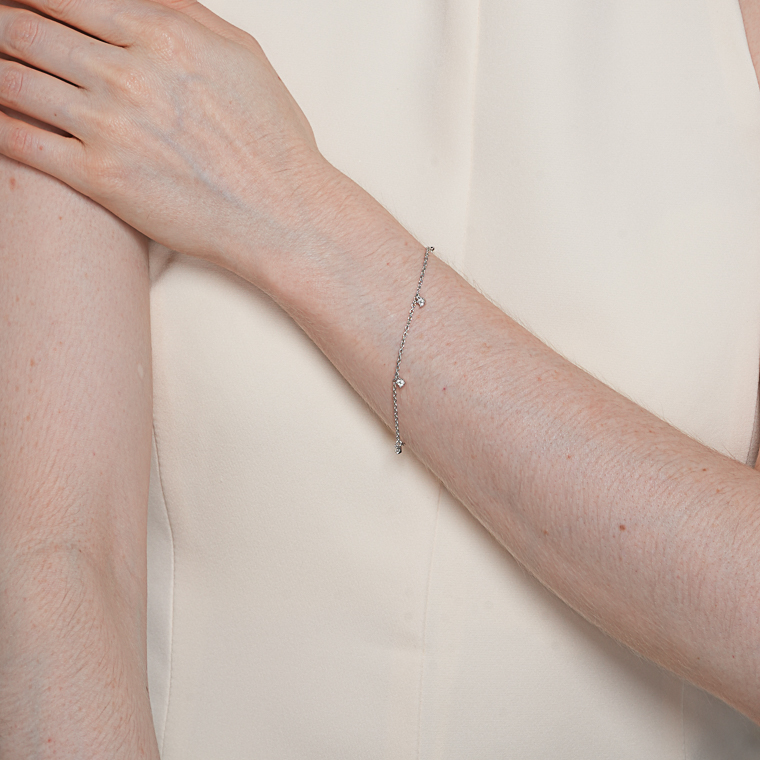
Words such as “large,” “thick,” and “delicate” leave room for different interpretations.Before approving, confirm the relevant measurements: height, width, depth, length, internal openings, and ring size where applicable. Ask which dimensions describe the intended finished product and how the manufacturer will account for production and finishing.
For a pendant, clarify whether the stated height includes the bail. That small distinction can change how a buyer imagines the finished size.
If the pendant must fit an existing chain, provide measurements of the chain fitting that needs to pass through the opening. The width of the chain itself may not be the largest dimension.
Shining Star’s design team can discuss these measurements alongside the model. When a buyer requests a larger version, the team can review how that affects the stone arrangement, construction, estimated weight, and connections.
Review the Structure Behind the Appearance
Follow the parts that connect the jewelry together.On a pendant, examine where the bail meets the body. On a ring, look at how the face transitions into the shoulders. On earrings, check the relationship between the decorative face, post, and back.
A rendering may make a connection look complete without explaining enough about its construction. If an area looks unusually thin or a joint is difficult to see, ask the designer to show it more clearly.
For moving products, such as chains and bracelets, ask how the connections are intended to function. A static CAD view alone cannot demonstrate the movement of a finished assembly. The sample will still need to be handled and tested.
This is a useful point to explain how the product will be worn. A large statement pendant, for example, may need to work with a particular chain and sit in a particular position on the chest. Sharing that information gives the designer a more specific problem to solve.

Check the Stone Layout Carefully
In an iced-out design, the stone arrangement can change the character of the entire piece.Review the proposed stone shapes, sizes, rows, borders, and areas of exposed metal. Ask whether the CAD shows the intended stone count and which details remain subject to confirmation during sample development.
Pay attention to narrow lettering and curved sections. A layout that appears regular across a broad surface may become crowded where the design turns a corner.
For a logo pendant, decide which matters most in each area: sparkle, the shape of a letter, or a small identifying feature. Selective stone placement can help preserve those distinctions.
At Shining Star, stone placement can be discussed during modeling, alongside the surrounding metal and setting requirements. Ask the team to explain any proposed changes to the original artwork so you can judge their effect before approving.
What Is Underneath the Pendant?
Before approving a pendant, ask the designer to turn it over.The front rendering may show exactly what you requested, while the reverse still leaves important questions unanswered. Is the back open? Is it recessed? Which areas support the lettering and stone settings? How is the bail connected to the body?
These details affect the sample you will receive. A large pendant with a closed, heavy back may exceed the weight you had in mind. Removing metal can help, but the designer needs to consider where that material is being removed.
For example, a brand developing a broad logo pendant may want substantial edges while keeping the center relatively light. That requirement should be discussed while the model is editable. Asking for a lighter product after the sample has been made may mean returning to the design stage.
Shining Star Jewelry’s modeling team can discuss reverse construction alongside the visible design. Ask for an estimated weight based on the selected metal, and clarify what the estimate includes. The finished sample will provide the reference for the actual weight.
Read the Lettering at the Size You Plan to Sell
A nameplate displayed across a laptop screen can look remarkably clear. The same word at a finished width of a few centimeters may be harder to read.Try viewing the drawing at approximately the intended product size. A printed outline with the stated dimensions can help you judge scale, although it will not show depth or the effect of the stones.
Look closely at enclosed spaces inside letters and the gaps between connected strokes. Are the features that identify your logo still visible? Does the stone layout obscure a curve or turn two separate letters into one shape?
If something looks crowded, ask the designer to show an alternative. A slightly wider gap or a short section of polished metal may preserve the lettering better than adding more stones.
For Shining Star’s custom nameplate and character projects, this discussion gives the design team a clear priority: which details must survive the transition from artwork to a small physical object.
Ask What the Rendered Surface Actually Represents
A dark area in a rendering could be a shadow, a recessed surface, or an intended black finish. Those are three different things.Before approving the image, ask the manufacturer to identify the surface treatments in writing. If the ring has a matte center and polished edges, mark those areas. If a pendant uses two colors, indicate where one ends and the other begins.
The same applies to engraving and enamel. A visible line in a rendering does not necessarily explain whether it will be raised, cut into the surface, or created through color.
You do not need a complicated document. An annotated image can make the requirements clear:
The outer border is polished. The recessed background is matte. The logo remains raised.
That description gives the sample maker something specific to follow. It also gives you a useful reference when the finished piece arrives.
Keep the Changes in One Place
Custom projects can become confusing when feedback is scattered across several messages.You may approve the outline on Monday, ask for a larger bail on Tuesday, and change the stone arrangement later in the week. By the next review, several images may look nearly identical even though they represent different versions.
Before approving, ask for one updated drawing that includes all agreed changes. Check it against your comments rather than assuming every revision has been incorporated.
Feedback works best when it identifies both the location and the problem. Instead of saying “make the bail bigger,” explain that the opening must accommodate the chain fitting shown in your reference. The designer can then propose an appropriate adjustment and give you the new measurements.
For a Shining Star project, keep the latest drawing, marked comments, and written approval together. A file name or revision date makes it easier for both sides to refer to the same design.
If you are ordering several sizes, clarify which version the approval covers. Approving a large pendant does not settle every detail of a smaller adaptation.
What the Wax Model Can Help You Decide
Shining Star has in-house wax printing capability, allowing a digital design to be examined as a physical form before metal production.That stage is useful when the main uncertainty concerns shape. A character’s face may need more depth. A ring may project farther from the finger than expected. A pendant’s bail may look disproportionately large beside the body.
A wax model helps make those proportions tangible. It cannot tell you how the finished metal will feel in the hand, how the plating will look, or how the completed stone setting will perform.
Use the model to resolve questions about form. Reserve judgments about finished weight, surface quality, closure operation, and wearing comfort for the appropriate sample stage.
That distinction also helps keep approvals clear. Confirm whether you are approving the shape for further development or accepting a finished product for production.
Make the Approval Message Specific
When you are ready to proceed, write a short approval that names the file and confirms what should happen next.For example:
Please proceed with one sample using CAD revision 03. The dimensions, lettering, and revised bail opening are approved. Use the material and stone specifications in the latest quotation. We will review the final finish, weight, and chain fit on the physical sample before approving bulk production.
Adjust the wording to your project. Its value lies in making the next step clear.
Keep the approved CAD views available when the sample arrives. Compare the physical piece with the drawing, then note any issues that only become apparent through handling or wear. Those observations belong in the next revision record.
If you are preparing a custom hip hop jewelry project, send Shining Star Jewelry your artwork, target dimensions, material preference, and any chain or fitting measurements. Include the detail you are least certain about—perhaps the lettering, the reverse, or the hanging angle. That gives the design team a useful place to begin the review.